
Ngon
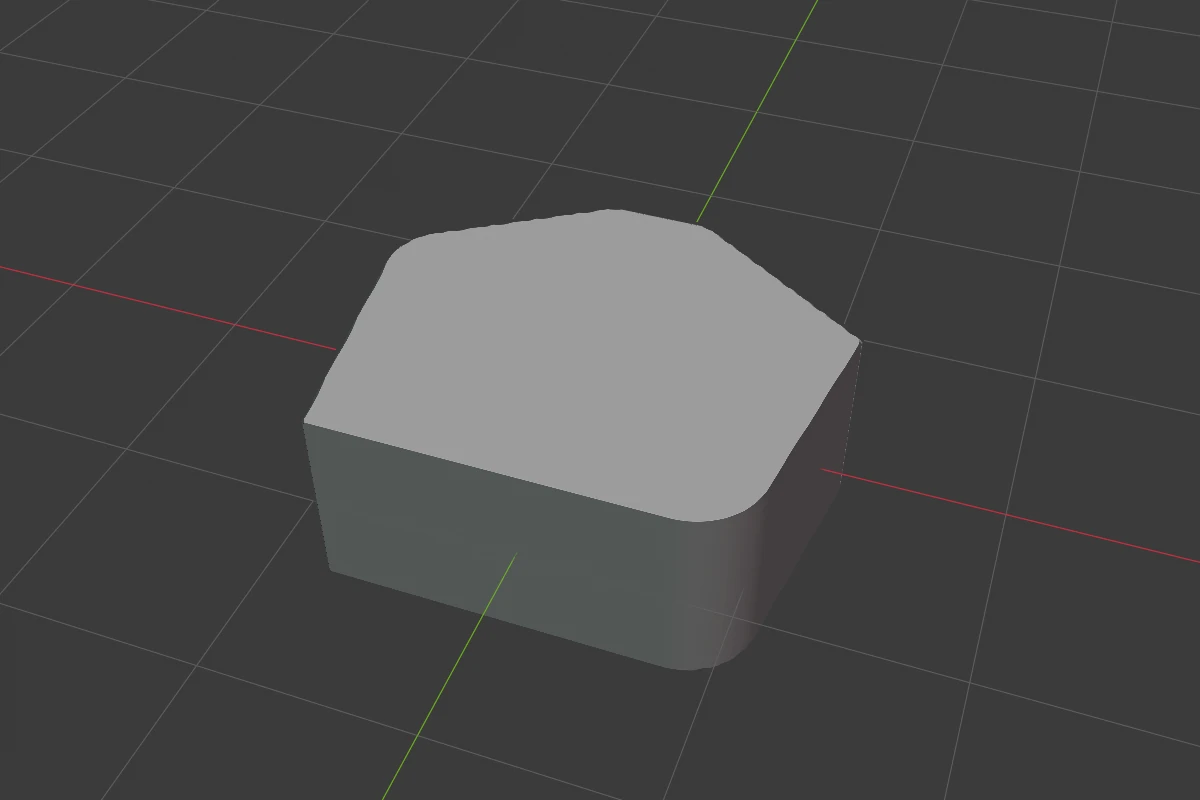
A polygon of any shape, extruded the same distance on both sides of the object’s local XY plane. Every corner has its own rounding and profile, concave corners included.
Settings
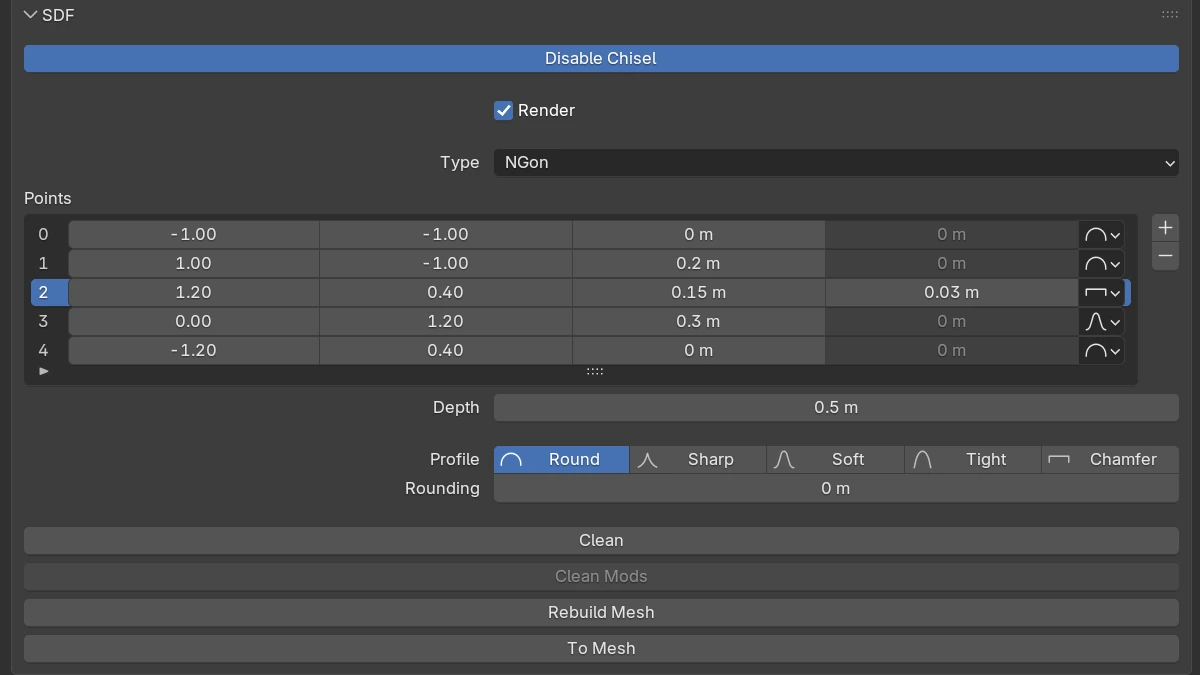
| Setting | Default | Range | What it does |
|---|---|---|---|
| Points | a square | 3 corners or more | One row per corner: its index, X and Y on the Ngon’s plane, its Rounding (≥ 0, soft 2), its Smooth (≥ 0, soft 0.5; greyed unless the corner is a chamfer) and its profile (icon menu: Round, Sharp, Soft, Tight, Chamfer). Click a row to make that corner active |
+ / − | Add a corner after the active one; remove the active one | ||
| Depth | 1 | > 0 (soft 10) | How far the polygon extends on each side of its plane: the Ngon is twice this thick |
| Profile | Round | Round · Sharp · Soft · Tight · Chamfer | The shape of the top and bottom rims’ rounding |
| Rounding | 0 | ≥ 0 (soft 2) | Rounds the top and bottom rims |
| Smooth (Chamfer) | 0 | ≥ 0 (soft 0.5) | Rounds the seams where the rims’ chamfer meets the faces |
The rows every shape has are in Properties Panels. On a scaled Ngon, Rebuild Mesh bakes the scale into the corners; their rounding scales by the smaller of the X and Y scale.
Corners
The corners show only in the Chisel tool’s Edit mode (Tab). Click, Shift-click or a box drag on empty space selects them; a selected corner is blue. G moves the selection (X, Y or Z locks a world axis), and X or Delete removes it, down to three corners.
| Handle | Looks like | What it does | Keys while dragging |
|---|---|---|---|
| Corner | a dot on each corner | Drag: moves every selected corner on the Ngon’s plane | Ctrl snaps to 0.1 (Ctrl + Shift: 0.01), Alt slides along an edge, Shift is precision |
| Rounding handle | an orange dot just outside a selected corner | Drag away from the corner: rounds every selected corner | 1–5: Round, Sharp, Soft, Tight, Chamfer; S: the chamfer’s Smooth |
| Add dot | a green dot at the middle of the edge under the mouse | Click: adds a corner there |
The right-click menu in Edit mode sets the selected corners’ profile (Corner Profiles) and removes them, see Edit Mode.
Bevel arc
In Object mode, the green Bevel arc of the adjust arcs rounds every corner of every selected Ngon by the same amount. A corner’s rounding never takes more than half of either edge next to it. During the drag 1–5 set every corner’s profile and S drags the chamfers’ Smooth.
Redo panel
After adding, the redo panel (F9) has:
| Setting | Default | Range | What it does |
|---|---|---|---|
| Size | 2 | > 0 | Side of the starting square, and twice the Depth |
| Align | World | World · View · 3D Cursor | Rotation of the new shape |
Limits and known issues
Warning
Moving the object’s origin (Set Origin, or a move with Affect Only Origins) leaves the outline in place: the origin moves within the Ngon’s plane but not along its depth.
Warning
Seen from above, the top edges of an Ngon’s far sides can look wavy in the viewport. Raising Max Steps does not change it. A Prism with the same regular outline draws them straight.
A Smooth modifier leaves the corner rounding alone.
See also
- Edit Mode
- Outline: the same idea with curved sides
- Block Mode: draw an Ngon in the viewport