
Outline
A closed outline of points on the shape’s local XY plane, extruded by Depth. Like an Ngon, but its sides can curve: Smooth and Free points make round spans, Corner points sharp or rounded corners.
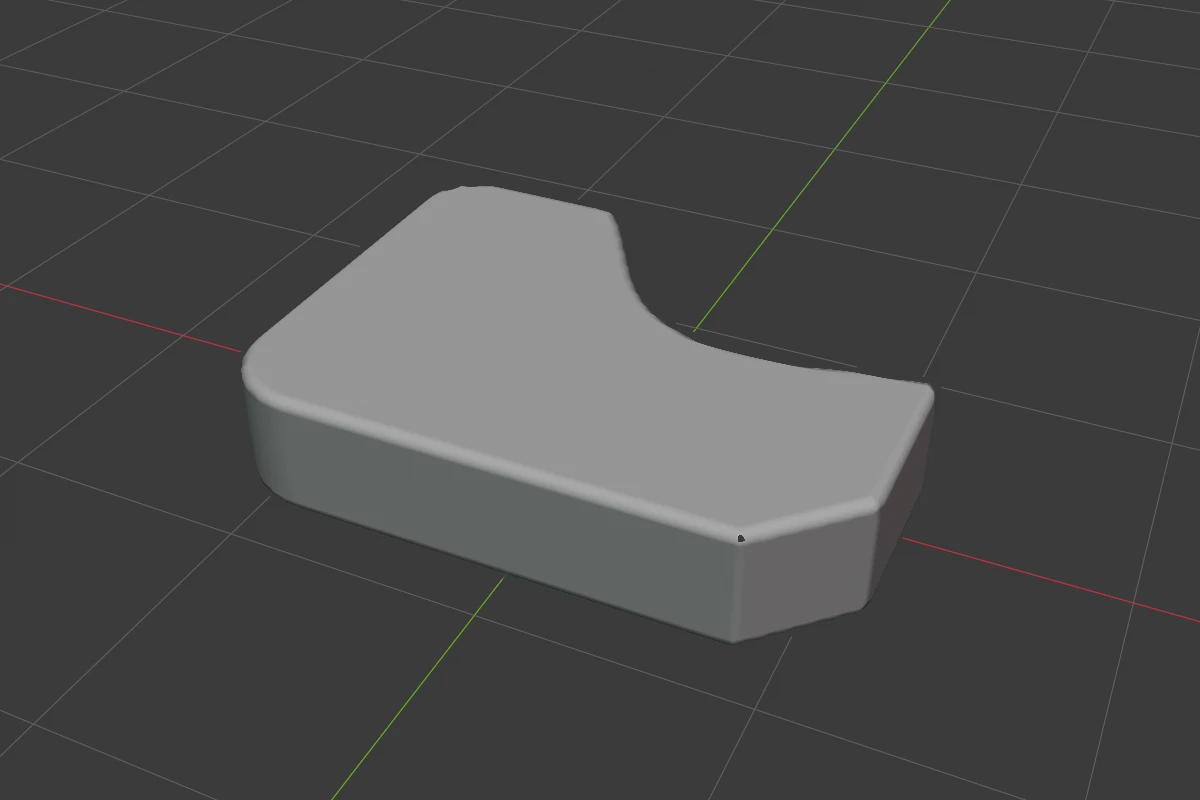
Settings
| Setting | Default | Range | What it does |
|---|---|---|---|
| Depth | 1 | > 0 (soft 100) | How far the outline is extruded, from its plane along local +Z: the origin sits on the bottom face |
| Points | 3 points or more | The point list and the active point’s rows, see Points. An Outline’s rows show each point’s X and Y | |
| Profile | Round | Round · Sharp · Soft · Tight · Chamfer | The shape of the rims’ rounding |
| Rounding | 0 | ≥ 0 (soft 2) | Rounds the top and bottom rims. B drags it |
| Smooth (Chamfer) | 0 | ≥ 0 (soft 0.5) | Rounds the seams where the rims’ chamfer meets the faces |
The rows every shape has are in Properties Panels.
The outline is always a loop. Its points stay on their plane: when you move one, X and Y lock the move to the local axis. A new Outline is an arch of five points: two Corners along the bottom and three Smooth points over the top.
Depth dot
In Edit mode a blue dot above the middle of the top face sets Depth: drag it along the extrusion. Ctrl snaps to 0.1 (Ctrl + Shift: 0.01), Shift is precision.
The point dots are drawn on the face of the Outline that faces you. The dots, rounding handles, point handles and add dots are on Points.
Redo panel
After adding, the redo panel (F9) has Depth (default 1) and Align (World, View, 3D Cursor).
Limits and known issues
An Outline holds about 340 Smooth or Corner points. Past that, adding a point reports “No room for another point”.
Warning
Seen from above, the top edges of an Outline’s far sides can look wavy in the viewport, as on an Ngon.
Where a Corner point with a chamfer meets the rim rounding, a tiny dark speck can show.
See also
- Points
- Ngon: straight sides
- From Curve: a closed, flat Blender curve becomes an Outline
- Text