
Solidify
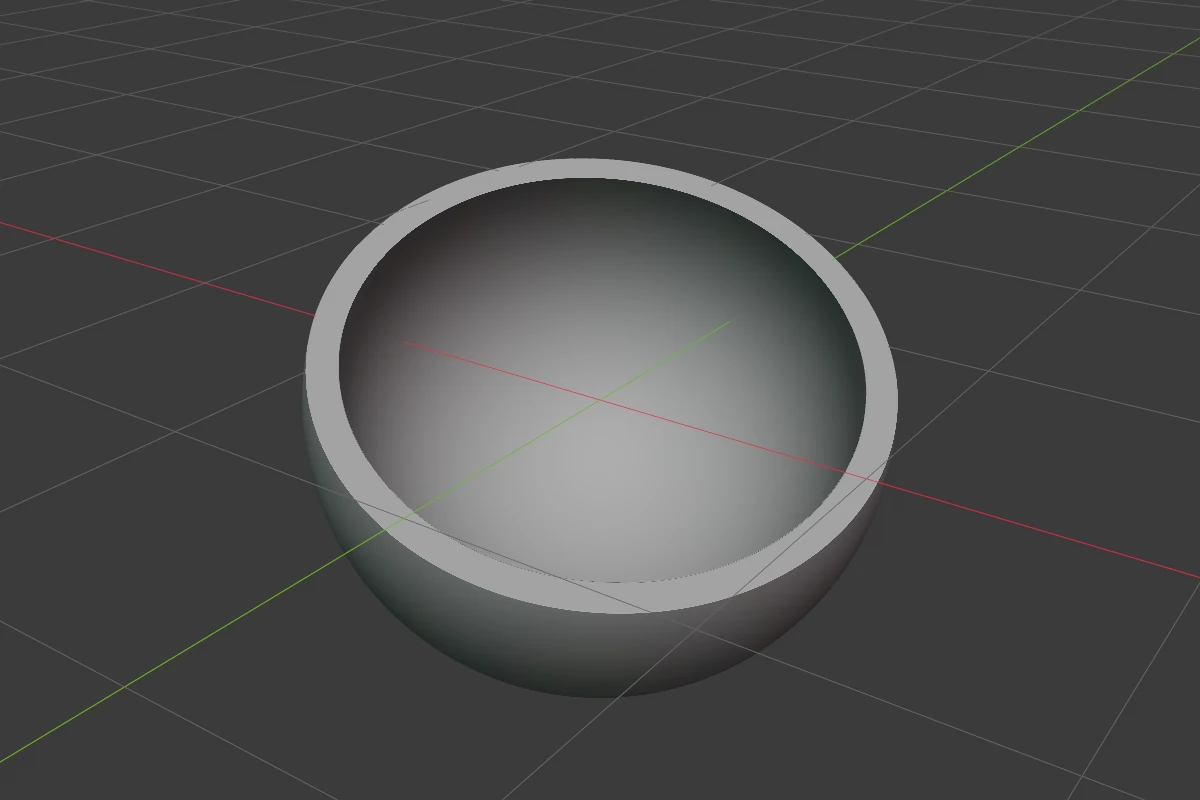
Solidify hollows a shape into a shell. The outer surface stays where it is and the wall grows inward, so the shape keeps its size. From outside, a closed shell looks the same as a solid. A Bisect or a Difference placed below the Solidify in the stack cuts it open and shows the wall.
Settings
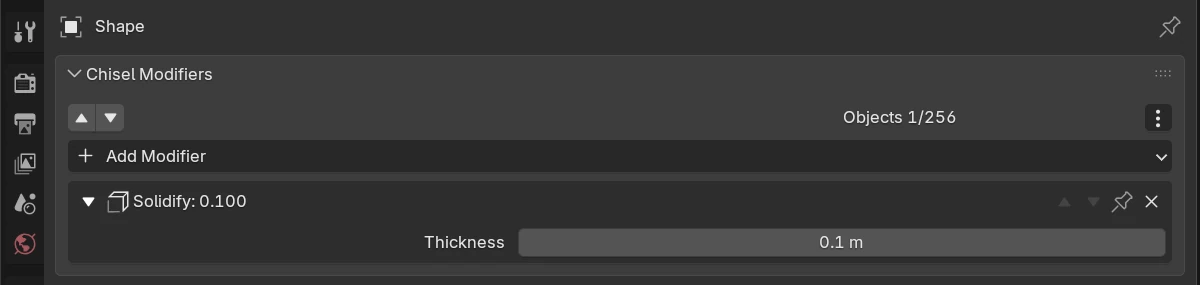
| Setting | Default | Range | What it does |
|---|---|---|---|
| Thickness | 0.1 m | 0.001 and up (soft 1) | Wall thickness, measured inward from the surface. The redo panel (F9) of a new Solidify has it too |
Gizmo
| Handle | Looks like | Drag or click | Keys while dragging |
|---|---|---|---|
| Thickness dot | Blue dot a little off the top or bottom face, whichever faces you. Looking almost straight down, it moves to the side face nearest you | Drag away from the surface to thicken the wall, toward it to thin it. The thickness shows beside the cursor | Ctrl snap 0.01, Ctrl + Shift 0.001, Shift precision |
| Wall marker | Grey line from the surface to the inner wall | Display only: the real depth, even on a stretched shape |
On a Box, Oblong, Sphere, Cylinder, Capsule, Torus or Cone the dot sits on the true surface; on any other shape it sits on the bounding box. The dot is placed from the shape alone: booleans and deformers on the shape do not move it.
Switch the handle with Solidify in the tool header’s gizmo drop-down, or Render Properties ▸ Gizmos ▸ Modifiers ▸ Solidify.
Pie menu
The pie’s East wedge has a Solidify row with the thickness. Click the value and move the mouse: the farther the cursor from the shape’s origin, the thicker the wall. Shift is precision, Ctrl snaps to 0.1, Ctrl + Shift to 0.01; a click confirms.