
Curve-Based Primitives
Three primitives that source their geometry from a Blender curve object. Edit the curve in normal Edit Mode and the SDF re-evaluates live in the viewport.
Since 4.1 each of them has an analytic counterpart that needs no curve object (an Ngon, or a shape with a Revolve or Sweep modifier) and a one-click Convert Legacy Curve button to get there. The curve primitives stay first-class; converting is optional.
Curve
Extrude a 2D curve along the Z axis to create a swept solid. If no curve is selected when you create one, Chisel auto-generates a Bezier circle.
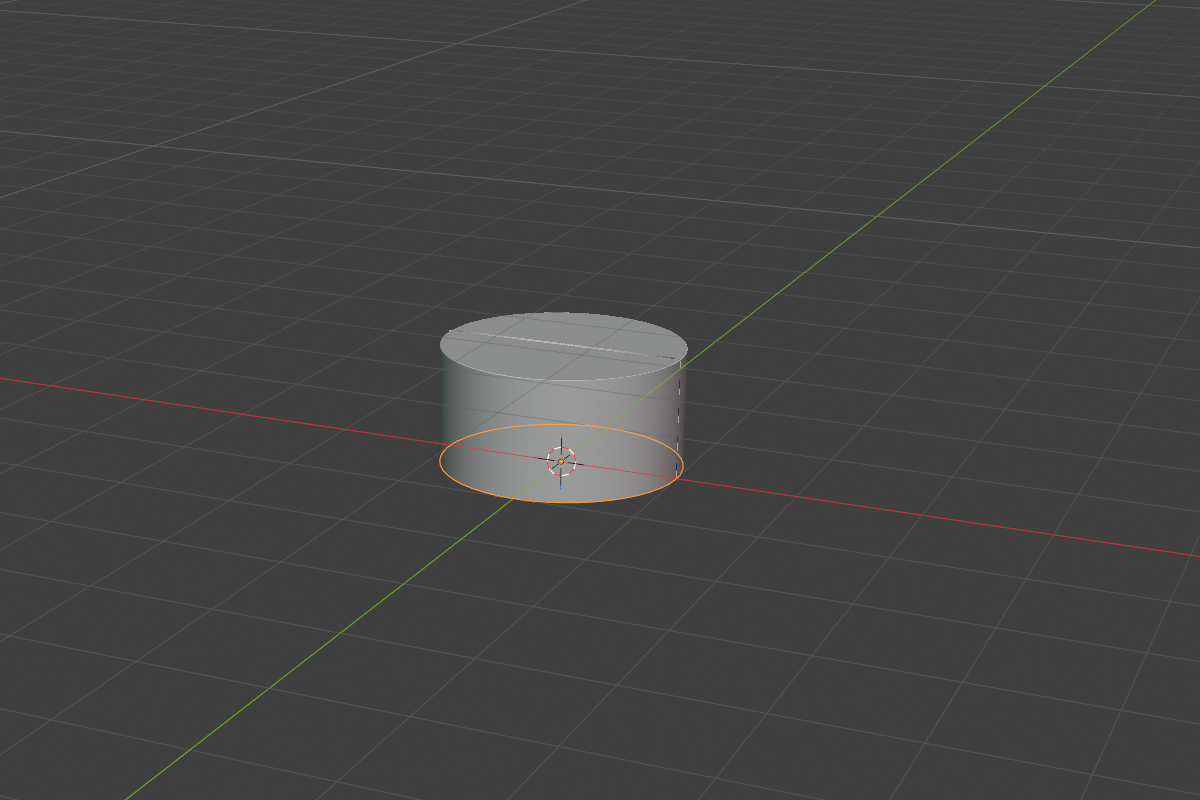
The depth-curve solid hugs the drawn Bezier exactly: circles come out as exact circles, sharp corners stay sharp, and concave spans stay smooth. A 3D curve that is roughly flat is treated as a 2D profile in its own best-fit plane, so you no longer have to keep the curve pinned to world XY.
- Depth: extrusion length (default
1.0, soft max100.0) - Rounding + Profile: applies to the top and bottom edges
Use Curve for letterforms, logos, custom flat shapes, or any swept profile that doesn’t need rounding along the path. Adjust the depth straight from the viewport with the Depth row in the RMB menu or the Q pie.
All splines must be cyclic. A non-planar curve is projected onto its best-fit plane. The panel shows an info note when that happens.
Curve Tube
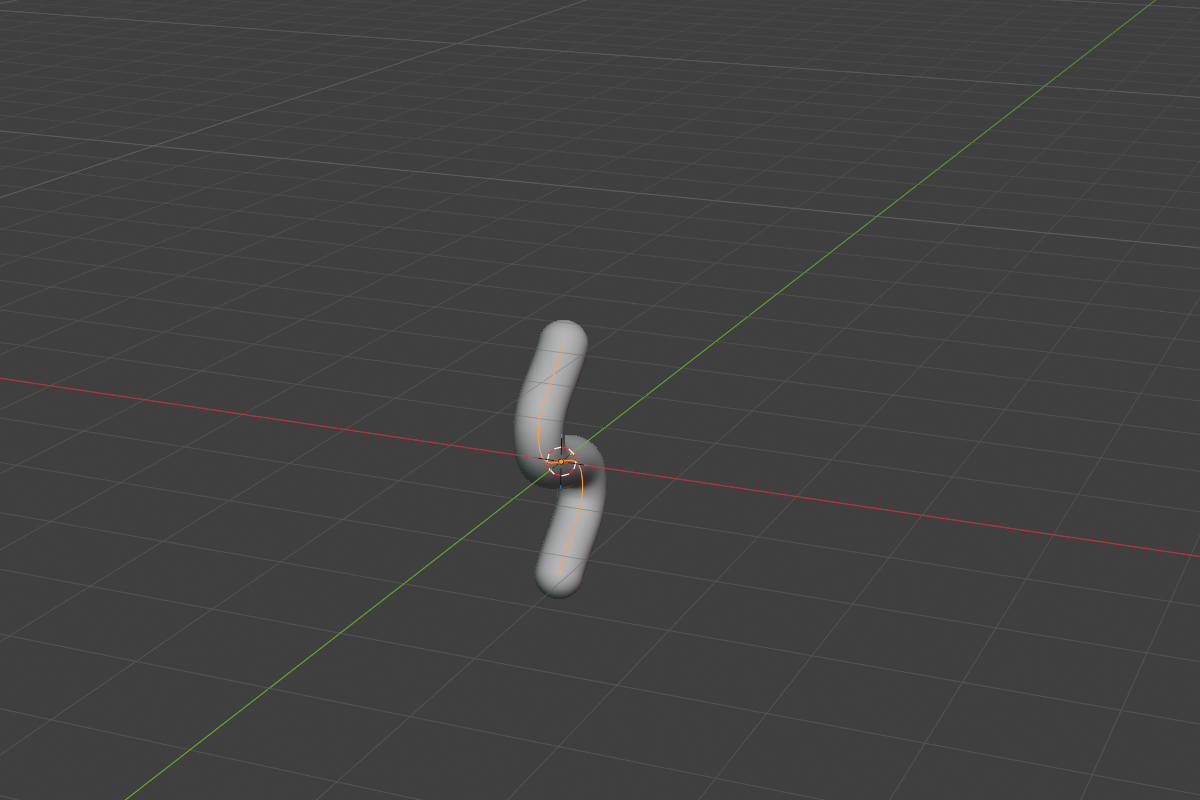
Sweep a circular cross-section along a 3D Bezier path. The result is perfectly smooth all the way down the path. No faceting, no LOD.
- Tube Radius: global radius (default
0.2, soft max5.0) - Per-point radius: adjust radius per control point with
Alt + Sin curve Edit Mode
No rounding parameter: the swept surface is already smooth all the way along the path. NURBS splines render the smooth curve Blender draws (weights, order and cyclic settings included), and a thin tube stays smooth once the render settles, however large the box it snakes through.
Curve Tube excels at piping, cables, ropes, hairs, vines, and any flow that benefits from smooth taper.
Curve Revolve
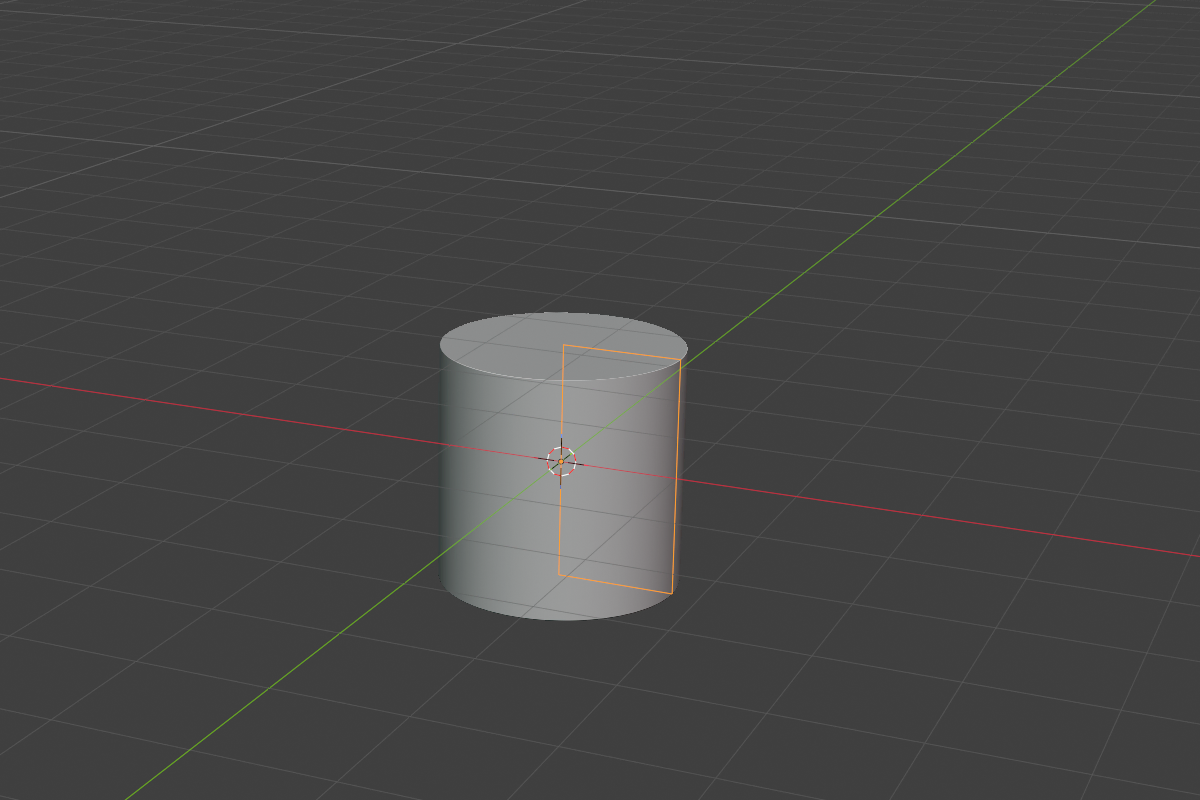
Revolve a 2D profile around the local Z axis. Perfect for vases, bottles, and turned hardware.
- Revolve Angle: sweep angle (default
360°/2πfor a full revolution; range~1°–360°) - Rounding + Profile: new in 4.1, rounds the profile’s edges
The profile is clamped so it cannot cross the axis (no negative-radius artifacts). Drop the angle below 2π to get a partial sweep, handy for pie-slice cutouts or one-off architectural details. Adjust the sweep from the viewport with the Angle row in the RMB menu or the Q pie.
Editing the source curve
Each curve-based primitive references an external curve object. To edit it:
- Select the curve object (it lives in the same collection as the SDF object).
- Tab into Edit Mode.
- Move points, change handle types, or adjust per-point radius (Tube only) with
Alt + S. - The SDF refreshes as you go.
Hide the source curve in the outliner if you don’t want it cluttering the viewport. Chisel still finds it.
Converting to analytic shapes
Every curve shape’s object panel has a Convert button: Convert to Ngon on a Curve, Convert to Ngon + Revolve on a Curve Revolve, Convert to Sweep Chain on a Curve Tube. The replacement keeps the shape’s name, modifiers, cutter links and parenting, and you get viewport handles instead of a separate curve object. See Convert Legacy Curve.
Upgrading from 2.x
Curves saved in 2.x pick up the rebuilt SDF automatically. There is nothing to re-create. Because the solid now follows the drawn curve exactly, a loosely-drawn curve may fill out slightly at the corners compared to the old, inset result. Nudge the corner handles if you want the tighter look back.
A very deep, narrow concave notch (a fillet radius much smaller than the notch is wide) can leave a faint crease where the two inner fillets meet. Typical curves are unaffected.
See also
- Standard Shapes: the ten non-curve primitives
- Mesh Primitive: any mesh object, baked to a signed-distance grid
- Changing the type after creation: swap between the three curve types
- Convert Legacy Curve: turn a curve shape into an Ngon, Revolve or Sweep
- Operations: Convert: convert curve-based SDFs to mesh