
Boolean
Combine two SDF objects. Chisel booleans operate directly on the distance fields, so the result is clean and re-editable: no mesh repair, no bad normals, no duplicated geometry.
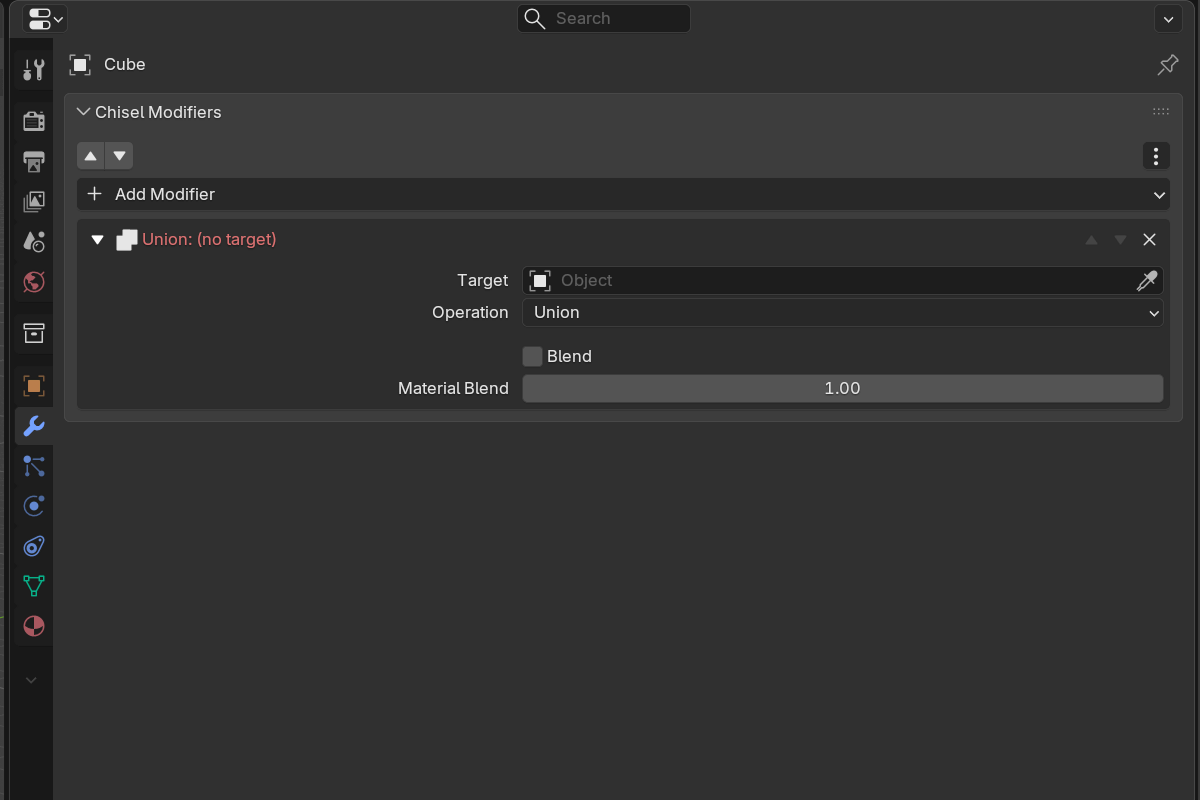
Operations
Union
Combine both shapes into a single solid volume.

Hotkey: Alt + = or NumPad +
Difference
Subtract the target from the active object, the classic “cut out” boolean.

Hotkey: Alt + − or NumPad −
Intersect
Keep only the volume where both shapes overlap.

Hotkey: Alt + \\ or NumPad /
Slice
Cut the active object with the target and keep both halves as separate volumes. Slice flips the host to Difference and spawns a {name}_slice copy set to Intersect. Add it from the active tool, the Add Modifier menu, or the pie. The Boolean modifier’s Operation dropdown itself contains Difference, Union, and Intersect only.
For a difference that cuts with a grown copy of the target (and keeps the target visible in its pocket) see Carve.

Smooth blending
Push the Blend Radius above zero and the boolean seam becomes a smooth fillet. No extra geometry, just math. The fillet shape follows the Blend Profile. In the panel this slider is labelled Outer.

Setup
- Select source objects, then make the destination active.
- Add a Boolean modifier (Add Modifier menu, pie menu, or hotkey).
- Set the Target to the operand object. Picking a target by hand in the panel hides it from the render, the same as the operators do, so the cutter never fills the hole it cuts.
- Choose the Operation.
- Optionally raise Blend Radius for a smooth transition.
Swap the operation
Swap Modifier (the Shift+click of the boolean buttons in the pie and the RMB menu’s Modifiers submenu) rewrites every modifier that targets the selected shapes to a new operation at once. The buttons sit four to a row (Difference, Union, Intersect, Slice, then Emboss, Engrave, Carve) and light up when the selected shape is already used that way. The cycle hotkeys ; and ' step the active boolean through Difference → Union → Intersect → Emboss → Engrave → Carve (Slice excluded).
Parameters
- Target: the operand object. The field is a native object search box labelled Target; type or pick the operand by name.
- Operation: Difference / Union / Intersect. (Slice creates two modifiers and isn’t in this dropdown; see Slice above.)
- Blend Radius (labelled Outer in the panel): fillet radius at the seam (
0.0–10.0, soft max2.0).0.0= sharp boolean. - Blend Profile: Round / Sharp / Soft / Tight / Chamfer.
- Blend Smooth (Chamfer profile only): softens the chamfer’s outer edges.
- Material Blend: width multiplier for the color blend across the seam (
0.0–10.0, soft max3.0, default1.0).1.0= color follows geometry; higher = color bleeds wider;0.0= color snaps even on smooth seams.
When Blend Radius > 0, Use Smooth is auto-enabled. See Rounding & Blending for the profile shapes.
See also
- Carve: a difference that cuts with a grown, still-visible target
- Smooth: one blend radius for every seam in the model
- Mirror: symmetry as an SDF reflection
- Emboss & Engrave: separate inner / outer fillets
- Operations: Clean: detach a boolean operand from the stack